
Guide
Hytale Model Maker: What It Does and How to Use It
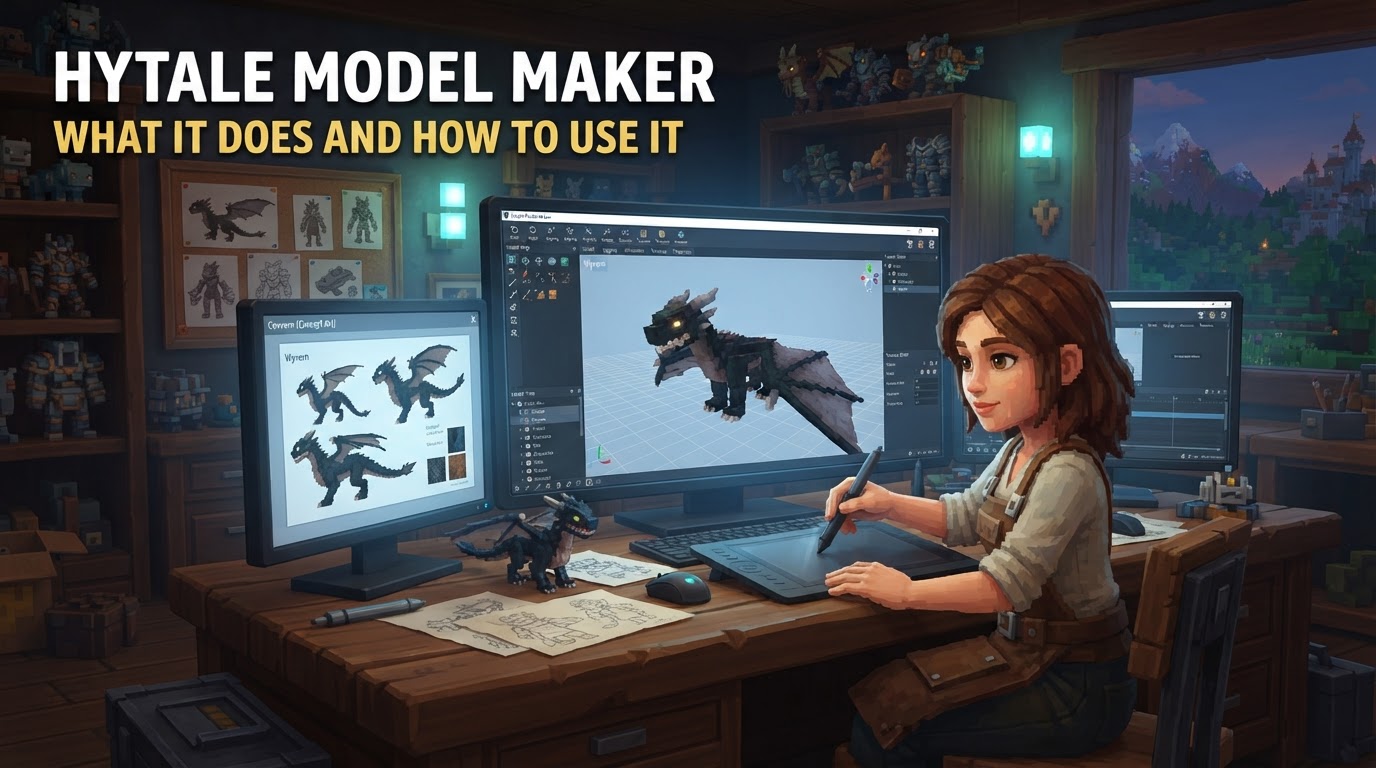
For the Hytale community, the official and preferred method for creating custom assets is through Blockbench, integrated with a dedicated Hytale plugin. While Hypixel Studios initially developed an internal tool called “Hytale Model Maker,” Blockbench has evolved to become the standard for community content creation, replacing the need for that proprietary software. This guide will detail what Blockbench with the Hytale plugin does and how to effectively use it to craft your own Hytale assets.
Understanding Blockbench with the Hytale Plugin
Blockbench, a widely recognized and accessible 3D modeling software, serves as the primary tool for Hytale asset creation. Enhanced by a specific Hytale plugin, it allows creators to design a vast array of game content, from intricate furniture and unique blocks to custom outfits, creatures, items, and even entire prefabs. These assets can be entirely original or modifications of existing Hytale elements, providing unparalleled creative freedom within the game’s framework.
Modeling System: Cuboids and Quads
Hytale’s distinctive visual style is built upon a foundation of specific geometric primitives: cuboids (boxes) and flat planes (quads). Unlike traditional 3D modeling that often involves complex meshes and triangles, Hytale models achieve complexity by meticulously arranging, resizing, and manipulating these basic shapes. This means concepts like true spheres or highly organic, smooth surfaces are not directly supported; instead, they are approximated using angular, block-based forms. This design philosophy not only contributes to Hytale’s aesthetic but also optimizes performance within the game engine.
Texturing: Pixel Art and Density Standards
Texturing in Hytale is deeply rooted in pixel art. Blockbench offers integrated tools for texture painting and UV mapping, allowing creators to directly paint on their models. Features like gradient mapping help add depth and dimension to pixel art. For more advanced texture work, Blockbench can seamlessly integrate with external photo editing software. Adhering to Hytale’s pixel density standards is crucial for visual consistency:
- 64px Density: Primarily used for player models, avatars, cosmetics, tools, and weapons. This higher density allows for finer detail on character-centric assets.
- 32px Density: Applied to blocks, accessories (props), and general building elements. This ensures blocks maintain a consistent, crisp look when placed in the world.
Animation: Intuitive Bone Hierarchies
The Hytale plugin for Blockbench empowers creators to animate their models with relative ease. It utilizes a system of bone hierarchies and pivot points, simplifying the animation process. By establishing a parent-child node hierarchy, animators can manipulate parts of a model without needing to delve into complex rigging or weight painting, making animation accessible even to beginners. This system ensures that animations are fluid and directly compatible with Hytale’s engine.
Collaboration and Integration
The tools are designed to foster collaborative workflows, allowing multiple users to work on the same model simultaneously with real-time updates. Once created, custom assets can be exported and tested directly within Hytale. The game itself will feature an in-game Creative Mode equipped with advanced building tools and a Prefab System, enabling further editing and integration of custom assets directly within the game world.
Export Formats
Finished models are exported in the .blockymodel JSON format, while animations are saved as .blockyanim files. These proprietary formats ensure direct and seamless compatibility with the Hytale engine, allowing your creations to be easily imported and utilized in the game.
How to Use It: Step-by-Step Guide
Creating your own Hytale assets involves a straightforward workflow using Blockbench and its dedicated Hytale plugin. Follow these steps to bring your ideas to life:
-
Download and Install Blockbench:
- Navigate to blockbench.net and download the latest version of Blockbench.
- Install the software on your computer.
-
Install the Hytale Plugin:
- Open Blockbench.
- Go to
File > Pluginsor click the puzzle piece icon in the toolbar. - Search for “Hytale” and install the official Hytale plugin. Ensure it’s enabled.
-
Start a New Model:
- In Blockbench, select
File > New Model. - Choose the “Generic” format for general modeling, especially before Hytale’s full release. The Hytale plugin will handle the specific export.
- In Blockbench, select
-
Model Creation:
- Utilize the “Add Cube” and “Add Quad” tools to construct your model.
- Manipulate, resize, and arrange these cuboids and quads to form the desired shape.
- Important: Ensure your model is oriented correctly, typically facing south (positive Z-axis) by default.
- Set your grid snapping and pixel density to default (often 16) and model at a scale where one pixel on your texture corresponds to one unit on your model.
-
Texturing Your Model:
- Switch to the “Paint” tab within Blockbench.
- Create a new texture or import an existing pixel art image.
- Carefully paint your model, adhering to Hytale’s pixel art aesthetic.
- Crucial: Apply the correct pixel density for your asset type (e.g., 64px for player models/weapons, 32px for blocks/props). This ensures visual consistency.
- Use Blockbench’s UV editor to adjust how your texture maps onto your model’s surfaces.
-
Animation (Optional):
- If your model requires movement, switch to the “Animate” tab.
- Define bone hierarchies by parenting groups and individual cuboids together.
- Set pivot points for rotational movements.
- Create keyframes and animate your model using the intuitive parent-child node system.
-
Export Your Asset:
- Once your model and textures (and animations, if applicable) are complete, go to
File > Export. - Export your model as a
.blockymodelfile. - If you created animations, export them separately as
.blockyanimfiles.
- Once your model and textures (and animations, if applicable) are complete, go to
-
Integrate and Test:
- Your exported
.blockymodeland.blockyanimfiles can then be integrated into Hytale. - Test your custom assets within the game to ensure they function and appear as intended.
- Your exported
Tips for Success
To create high-quality, Hytale-compatible assets, consider these expert tips:
-
Simplify Geometry, Detail Textures: Hytale’s art style thrives on simple, blocky geometry with detail conveyed through pixel-art textures. Focus on making your models as low-poly as possible, relying on your texturing skills to add depth and complexity.
-
Maintain Art Style Consistency: Always design with Hytale’s “modern, stylized voxel game, with retro pixel-art textures” aesthetic in mind. Reflect on the four core art pillars: Immersive, Fantasy, Stylized, and Flexible, to ensure your creations fit seamlessly.
-
Strong Silhouettes are Key: Ensure your models have clear, recognizable silhouettes. This makes them identifiable at a glance, even without detailed textures or complex lighting, which is crucial for gameplay clarity.
-
Vary Proportions: Incorporate a mix of big, medium, and small proportions within your designs. This creates visual interest and prevents models from looking monotonous or flat.
-
Texturing Best Practices:
- Avoid Pure Black/White: Pure black (
#000000) and pure white (#FFFFFF) can cause issues with Hytale’s lighting engine, appearing overly stark or washed out. Use slightly desaturated dark grays or light grays instead. - Introduce Color into Shadows: Instead of just darkening colors for shadows, subtly shift their hue. For instance, using purplish or bluish tones for shadows can add vibrancy and depth.
- Utilize Gradients: Smooth gradients in your pixel art can create the illusion of volume and curvature on flat surfaces.
- Mind Pixel Density: Always double-check and adhere to the 64px or 32px density guidelines for your specific asset type to ensure proper scaling and visual fidelity.
- Avoid Pure Black/White: Pure black (
-
Leverage Collections in Blockbench: Use Blockbench’s collection feature to import existing Hytale models (like player character bases) as references. This helps maintain scale and style consistency when creating new assets.
Common Mistakes to Avoid
Steer clear of these common pitfalls to ensure your Hytale assets are high-quality and compatible:
-
Excessive Triangles: While Blockbench works with cuboids, trying to create overly complex shapes that implicitly generate a high number of triangles can negatively impact game performance. Stick to simpler forms.
-
Pure Black/White Textures: As mentioned, using pure black or pure white colors can interfere with Hytale’s in-game lighting, leading to undesirable visual effects.
-
Incorrect Texture Density: Applying the wrong pixel density (e.g., 32px for a player model or 64px for a simple block) will result in assets that appear inconsistent in size or resolution compared to other in-game content.
-
Complex Topology: Hytale’s engine is designed for cuboid-based geometry. Attempting to use traditional 3D modeling techniques like edge loops, bevels, or skewed geometry that deviate from simple cubes and quads is not supported and will not translate well into the game.
-
Stretching Textures: Significantly stretching models (e.g., beyond 0.7X-1.3X their original scale) can cause noticeable pixel distortion and compromise the intended pixel art look.
-
Flat, Noisy Textures: Textures that lack volume, depth, or contain excessive random noise can detract from the overall visual quality and make models look amateurish.
-
Attempting True Spheres: Due to the engine’s geometric constraints, true, perfectly smooth spheres cannot be created. Models must be constructed from cuboids and quads, meaning spheres will always appear faceted or blocky.
-
Ignoring the Hytale Blockbench Plugin: Not using the dedicated Hytale plugin for Blockbench can lead to incompatibility issues, incorrect export formats, and a lack of Hytale-specific features essential for proper asset integration.
-
Mixing Incompatible Mods: When combining custom assets or other modifications, always ensure they are compatible. Incompatible mods can lead to game crashes, visual glitches, or unresponsive features.