
Guide
How to Mine Ore Faster in Hytale
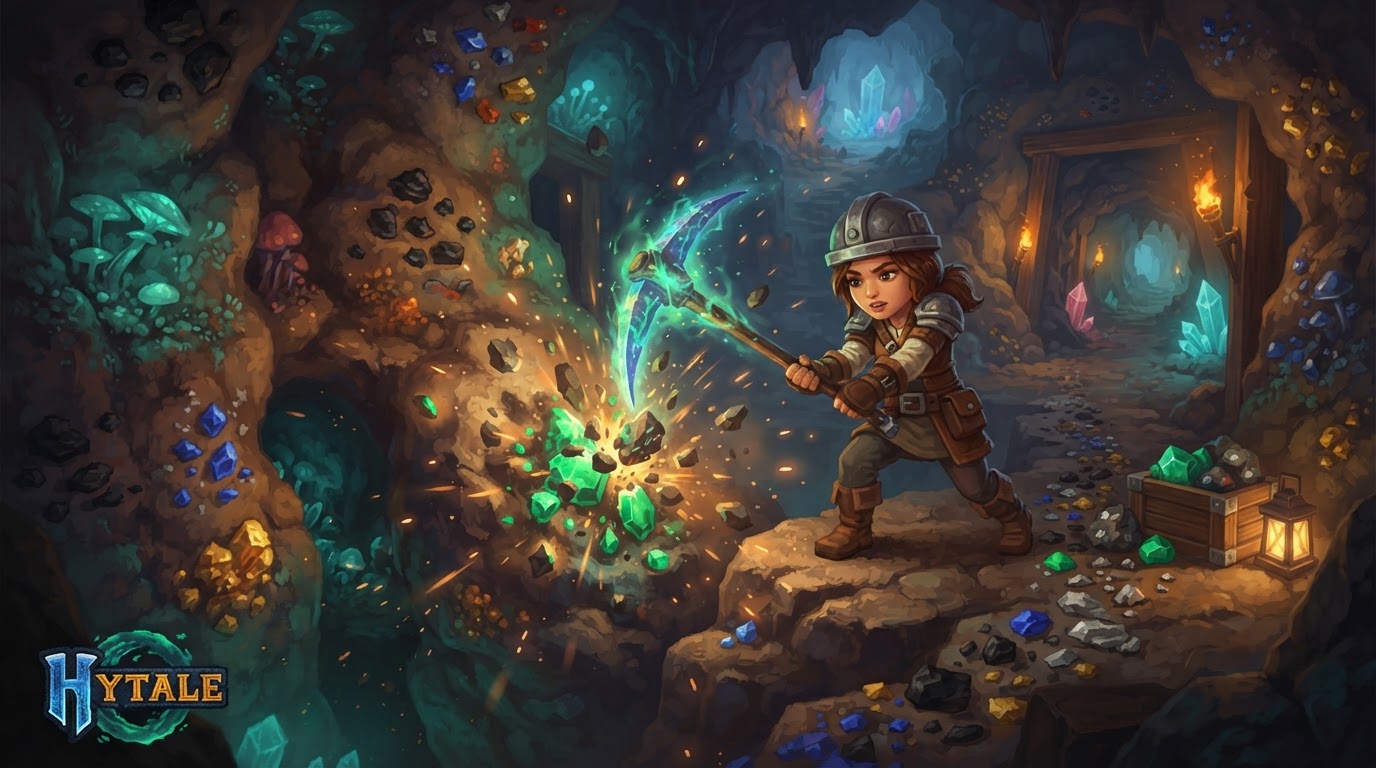
To mine ore faster in Hytale, the most impactful strategies involve consistently upgrading your pickaxe to the highest tier available and prioritizing strategic exploration of natural formations like caves, ravines, and mountain faces over aimless digging. Hytale’s design rewards players who seek out exposed ore veins in specific biomes, making targeted expeditions far more efficient than traditional strip mining.
Understanding Hytale’s Mining Fundamentals
Mining is a core activity in Hytale, providing the raw materials essential for progression. By understanding how the system works, you can optimize your efforts and gather resources more quickly.
The Role of Tools and Progression
Your pickaxe is your primary mining tool, and its tier directly dictates both your mining speed and the types of ore you can successfully extract. Starting with basic tools, you’ll quickly gather copper, which allows you to craft a copper pickaxe. This progression continues through iron, cobalt, and beyond. Each upgrade not only makes mining faster but also unlocks access to harder, more valuable ores that are otherwise unmineable or extremely slow to break.
- Durability and Speed: Higher-tier pickaxes generally have greater durability and significantly increased mining speed.
- Ore Accessibility: Certain ores require a minimum pickaxe tier to be mined at all. Attempting to mine them with an insufficient tool will either yield no material or be incredibly slow and inefficient.
Ore Distribution and Biome Specificity
Hytale’s world is rich with various ore types, each with preferred spawning locations. Knowing where to look for specific ores is paramount to efficient mining.
- Copper: This foundational ore is commonly found in shallow cave systems, typically around 20-30 blocks deep from the surface, and frequently encountered when digging downwards in most zones.
- Iron: Abundant across all zones, Iron is particularly plentiful in the Howling Sands desert biome, appearing both on the surface and within underground mine structures and caves. It’s also a common find in colder regions like the Whisperfrost Frontiers.
- Cobalt: Primarily located within the icy, mountainous terrains of the Whisperfrost Frontiers and also present in the dangerous Devastated Lands.
- Gold: Often observed on exterior rock faces in high-altitude terrain, especially in snowy mountainous biomes (Zone 3) and the Howling Sands desert. Deeper cave systems, particularly near lava flows, can also yield gold.
- Thorium: A valuable mid-game resource, Thorium is frequently discovered in the cave networks of the Howling Sands desert, often appearing in clusters alongside iron deposits.
- Adamantite: This top-tier, late-game ore is exclusive to high-risk zones, predominantly the volcanic Devastated Lands biome. It can be found as exposed surface nodes or deep underground.
Hytale’s Mining Philosophy
Unlike some block-based games that heavily reward systematic strip mining, Hytale is designed to encourage and reward exploration. Valuable ores are often found in naturally generated structures such as open caves, cliff faces, ravines, and specific biome-related terrain features. This means that actively searching for these natural formations will generally be more productive than digging long, straight tunnels.
Step-by-Step Guide to Faster Ore Mining
1. Prioritize Pickaxe Upgrades
This is the single most important factor for mining speed. As soon as you have enough materials, craft the next tier of pickaxe. Each upgrade drastically reduces the time it takes to break blocks and allows you to harvest more durable ores.
- Start with Wood/Stone: Gather basic materials to craft your first pickaxe.
- Mine Copper: Use your initial pickaxe to find copper ore, typically in shallow caves.
- Craft Copper Pickaxe: This will significantly speed up mining for common stone and copper, and make iron mining more feasible.
- Mine Iron: With a copper pickaxe, seek out iron.
- Craft Iron Pickaxe: The iron pickaxe is a major milestone, as it can mine most common ores efficiently and is often the prerequisite for higher-tier materials.
- Continue Progression: As you discover new biomes and tougher ores like Cobalt, Gold, Thorium, and Adamantite, ensure you are always working towards the next pickaxe upgrade.
2. Explore Natural Formations Strategically
Instead of digging blindly, focus your efforts on exploring the world’s natural structures.
- Cave Systems: Delve into any cave entrances you find. Ores are frequently exposed on cave walls, floors, and ceilings.
- Ravines and Canyons: These deep chasms often expose multiple layers of rock and ore veins.
- Mountain Faces and Cliffs: Higher-tier ores like Gold can often be found exposed on the exterior rock faces of mountainous regions.
- Underwater Caves: Don’t overlook submerged caves, which can also contain valuable deposits.
- Mark Locations: If you find an area rich in ore but lack the appropriate tool or inventory space, mark its location on your map or with temporary beacons so you can return later.
3. Target Biome-Specific Ore Deposits
Plan your mining trips based on the ores you need. Traveling to the correct biome will yield much better results than searching randomly.
- Need Iron or Thorium? Head to the Howling Sands desert biome.
- Searching for Cobalt? Focus your efforts on the Whisperfrost Frontiers.
- Seeking Adamantite? Prepare for the dangers of the Devastated Lands.
4. Secure Your Mining Areas
Safety and visibility are crucial for efficient mining. Hostile mobs can interrupt your progress and even lead to loss of resources.
- Light Up Caves: Place torches liberally as you explore. This prevents mob spawns, illuminates ore veins, and helps you navigate complex cave systems.
- Clear Threats: Before focusing on mining, clear out any immediate hostile mobs in the area.
- Create Safe Hubs: In particularly rich or extensive mining areas, consider setting up a small temporary base with a crafting table and furnace for quick processing and repairs.
5. Manage Inventory Efficiently
A full inventory means interruptions and potentially leaving valuable ore behind. Plan your trips to maximize collection time.
- Empty Inventory Before Trips: Start each mining expedition with as much free inventory space as possible.
- Deposit Regularly: Return to your base to deposit collected ores and smelt them into ingots. This reduces the risk of losing valuable materials if you are defeated by a mob or fall.
- Carry Minimal Essentials: Only bring what you absolutely need (pickaxe, weapon, torches, food, a few building blocks).
6. Carry Essential Supplies
Being prepared avoids unnecessary trips back to base and keeps you mining longer.
- Torches: Always carry a large stack for lighting.
- Food: To restore health and hunger, ensuring you can survive encounters and fall damage.
- Weapon: For defense against hostile creatures.
- Building Blocks: A stack of simple blocks (like dirt or stone) can be invaluable for bridging gaps, escaping pits, or reaching high ore veins.
- Repair Materials: If your pickaxe is getting low on durability and you have the materials, a crafting table or an anvil (if available) can save a trip back to base.
7. Optimize Smelting Operations
Mining faster is only half the battle; processing ore quickly is also key to progression.
- Multiple Furnaces: As you acquire more resources, build several furnaces to smelt multiple stacks of ore simultaneously.
- Efficient Fuel: Use the most efficient fuel source you have available (e.g., coal, charcoal, or other high-burn-time items) to reduce downtime.
- Automate (if possible): Keep an eye out for any future automation features that might streamline ore processing.
8. Consider “Branch Mining” (Carefully)
While Hytale emphasizes exploration, a modified form of branch mining can still be useful in certain scenarios, particularly when searching for specific depth-dependent ores in less explored areas. Instead of long, straight tunnels, consider creating a central shaft with shorter, more frequent branches to expose more blocks in a localized area, especially if natural caves are scarce.
Common Mistakes to Avoid for Faster Mining
Excessive Strip Mining
Relying solely on digging long, straight, uniform tunnels is generally less efficient in Hytale. The game’s design encourages finding naturally exposed ore, which yields better results for time invested.
Ignoring Tool Progression
Attempting to mine higher-tier ores with a low-tier pickaxe is a waste of time and tool durability. Some ores may not even drop resources without the correct tool. Always upgrade your pickaxe as soon as possible.
Inadequate Preparation
Venturing into deep caves or dangerous biomes without sufficient torches, food, a weapon, or adequate inventory space will inevitably lead to frustration, lost progress, and potentially losing all your gathered resources.
Poor Mod Management (Early Access)
During early access, certain community-made modifications, especially those altering durability or mining mechanics, can sometimes conflict with the game and prevent ores from being mined correctly. If you encounter issues, try disabling mods one by one to identify conflicts. Always ensure your mods are updated and compatible with the current game version.
Overlooking Bug Reports (Early Access)
As Hytale is in early access, occasional bugs can occur, such as being unable to break blocks or interact with items. Staying informed about known bugs and hotfixes through official channels can help you avoid frustrating situations and understand if an issue is game-related rather than your technique.
By focusing on strategic exploration, consistent tool upgrades, and smart preparation, you will significantly increase your ore mining speed and overall resource acquisition in Hytale.