
Guide
How to Set Your Default Game Mode When Creating a World in Hytale
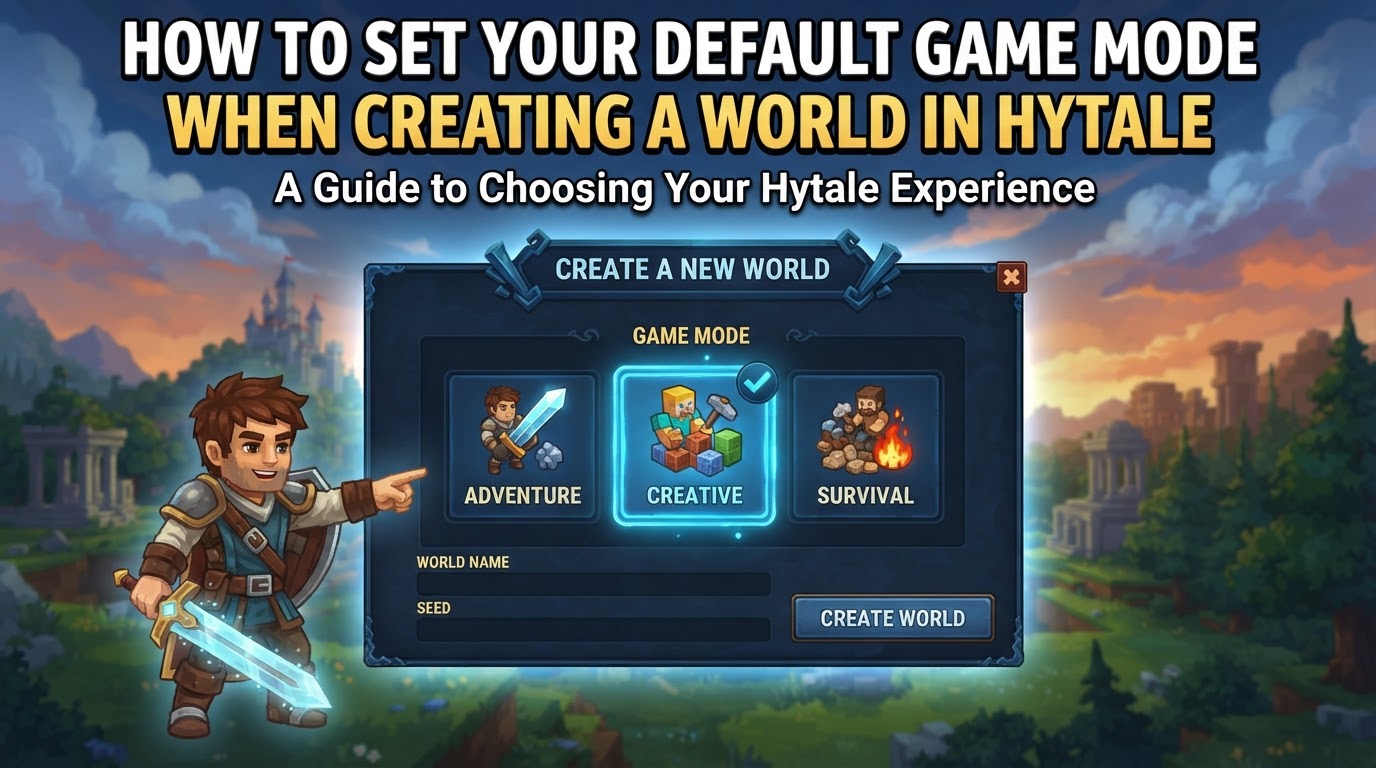
When embarking on a new journey in Hytale, one of the most fundamental decisions you’ll make is selecting your world’s default game mode. This choice profoundly shapes your initial gameplay experience, dictating everything from resource availability and combat mechanics to creative freedom and progression goals. Hytale provides distinct game modes tailored to different playstyles, and setting the correct one from the outset is crucial for aligning the world with your desired adventure.
Understanding Hytale’s Core Game Modes
Hytale offers several game modes, each designed to provide a unique foundation for your world. It’s important to understand their core differences before making your selection.
Exploration Mode (Survival)
This mode is often considered the heart of the Hytale experience for players seeking challenge and progression. In Exploration Mode, you begin with basic tools and must gather resources, craft items, build shelters, and engage in combat to survive and thrive. The world is procedurally generated, filled with diverse biomes, dungeons, and creatures. This mode emphasizes:
- Resource Management: Collecting raw materials like wood, stone, and minerals.
- Crafting System: Utilizing crafting tables and other stations to create tools, weapons, armor, and building blocks.
- Combat: Facing a variety of hostile creatures and potentially other players, requiring strategic engagement and equipment.
- Progression: Advancing through tiers of equipment, exploring new areas, and uncovering secrets.
- Survival Mechanics: Managing health, hunger, and other environmental factors.
If you’re looking for a challenging adventure where you earn your progress and build your empire from the ground up, Exploration Mode is your ideal starting point.
Creative Mode
Creative Mode liberates players from the constraints of survival, offering boundless opportunities for construction, experimentation, and artistic expression. In this mode, you have immediate access to an infinite supply of all blocks and items, invulnerability, and the ability to fly. It’s the perfect sandbox for:
- Unrestricted Building: Designing elaborate structures, intricate landscapes, and custom environments without resource limitations.
- Testing and Experimentation: Rapidly prototyping ideas, testing block combinations, or designing complex contraptions.
- Showcasing Creativity: Building impressive creations to share with others or simply for personal satisfaction.
- Learning Mechanics: Familiarizing yourself with Hytale’s extensive block palette and building tools without pressure.
Choose Creative Mode if your primary goal is to build, design, and create without the need for survival challenges.
Adventure Mode (Currently Unavailable in Early Access)
It’s important to note that while “Adventure Mode” is a planned and highly anticipated core experience for Hytale, it will not be available during the initial Early Access phase. This mode is envisioned as Hytale’s rich sandbox RPG experience, blending survival elements with a curated narrative, unique zones, and dynamic events. When it eventually becomes available, it is expected to offer:
- Story-Driven Quests: Engaging narratives guiding players through the world.
- Unique Zone Progression: Exploring distinct regions with their own lore, challenges, and rewards.
- Random Events: Dynamic occurrences that add variety and unpredictability to gameplay.
For now, players seeking a survival-like experience with exploration and progression should opt for Exploration Mode.
Step-by-Step Guide: Setting Your Default Game Mode for a New Single-Player World
The process for selecting your desired game mode when creating a new single-player world in Hytale is straightforward. Follow these steps to configure your adventure from the very beginning:
- Launch Hytale: Begin by starting the Hytale game client. Wait for the main menu, often referred to as the Home Screen, to fully load.
- Navigate to Worlds: From the main menu, locate and select the “Worlds” option. This will take you to a screen where you can manage existing worlds or create new ones.
- Initiate New World Creation: Look for an option like “Create New World” or a prominent “+” icon. Clicking this will bring you to the world creation interface.
- Choose a Game Mode: On the world creation screen, you will be presented with the available game modes, typically represented by distinct icons or portraits. These will include “Exploration” and “Creative.” Click directly on the game mode you wish to set as the default for your new world. You may also see “Adventure” listed, but it will be clearly marked as unavailable during Early Access.
- Enter World Name: Locate the text box provided and type in a unique and descriptive name for your new world. This name will help you identify it easily in your list of saved worlds later.
- Access World Settings (Optional but Recommended): Beneath the selected game mode’s portrait, you will find a “gear icon” or a button labeled “World Settings.” Click this to open a panel containing a comprehensive suite of customization options for your world. This is where you fine-tune the difficulty and specific gameplay mechanics.
- Adjust World Settings: Within the settings panel, you can customize various aspects to tailor the experience to your preferences. Consider the following common options:
- PvP (Player versus Player): Toggle this option to enable or disable combat between players. Enable for competitive play, disable for a purely cooperative or solo experience.
- Fall Damage: Turn fall damage on or off. Disabling it can make exploration less punishing, especially during building or platforming.
- Day/Night Cycle: Adjust the speed at which the in-game day and night cycle progresses. Options might include
0.5x(slower),1x(standard), or2x(faster). - Inventory Penalty on Death: Decide what happens to your inventory when your character is defeated. Options typically include
None(keep all items),Drop All(lose everything), orPartial Drop(lose a portion). - Resource Loss % on Death: A slider or numerical input to fine-tune the percentage of gathered resources you lose upon death, offering a granular control over difficulty.
- Durability Loss % on Death: Control how much wear and tear your gear sustains when you die, influencing the maintenance and repair aspects of the game.
- NPCs (Non-Player Characters): Enable or disable the spawning of friendly and hostile NPCs in your world, affecting the vibrancy and challenge of the environment.
- Pause Time: Allow or disallow the ability to pause the passage of in-game time, which can be useful for planning or taking breaks without environmental changes.
- Hardcore Modes: In newer builds, you might find options for advanced challenge modes like
Permadeath(permanent character deletion upon death),Three Strikes(limited lives),Nine Lives, orSoulbound(items bind to player), adding significant difficulty.
- Apply Settings & Create World: After meticulously adjusting your desired settings, ensure you click “Apply Settings” if that option is present. Then, click the prominent “Create World” button to finalize your choices and begin the world generation process.
- Loading: The game will then proceed to generate and load your new world based on your selected game mode and custom settings. This process may take a few moments depending on your system specifications.
Tips for Optimal World Setup
- Consider Your Playstyle: Before creating a world, reflect on what kind of experience you’re seeking. Do you want a relaxed building sandbox, a challenging survival adventure, or something in between? Your choice of game mode should align with this.
- Customize Difficulty: Don’t just pick a game mode and go. Dive into the detailed world settings to fine-tune the challenge. For a more forgiving experience, disable fall damage or inventory penalties. For a hardcore challenge, ramp up resource loss and consider the new hardcore mode options.
- Server Configurations Differ: If you plan to host a Hytale server, the process for setting the default game mode for new players will likely differ from single-player world creation. Server settings are typically managed through a server control panel, configuration files (like
config.json), or in-game administrative commands (e.g.,/world settings gamemode set [mode]). Consult server-specific documentation for these procedures. - Always Back Up Server Files: When manually editing server configuration files, always create backups before making any changes. Incorrect edits can lead to server instability or data corruption.
Common Mistakes and Uncertainties
- Misunderstanding Adventure Mode: Many players anticipate Adventure Mode from day one. Remember, it’s a planned feature but not part of the Early Access launch. Exploration Mode is the initial survival-like experience.
- Confusing Single-Player vs. Server Settings: The intuitive graphical interface for single-player world creation is often replaced by command-line interfaces, configuration files, or web-based control panels for dedicated servers. Do not assume the processes are identical.
- Directly Editing Configuration Files: While advanced users might be tempted to directly edit world configuration files (e.g.,
config.json) for single-player worlds, it’s generally safer and recommended to use the in-game settings menu. Incorrect manual edits can corrupt your world save. - Applying Changes to Existing Server Players: Changing the default game mode on a server usually only affects players who join for the first time after the change. Existing players typically retain their current game mode and may need manual adjustment by an administrator using in-game commands.
By carefully selecting your game mode and customizing your world settings, you can ensure your Hytale adventure begins precisely how you envision it, providing a tailored and enjoyable experience from your very first steps into Orbis.