
Guide
How to Set Server Rules and Permissions in Hytale
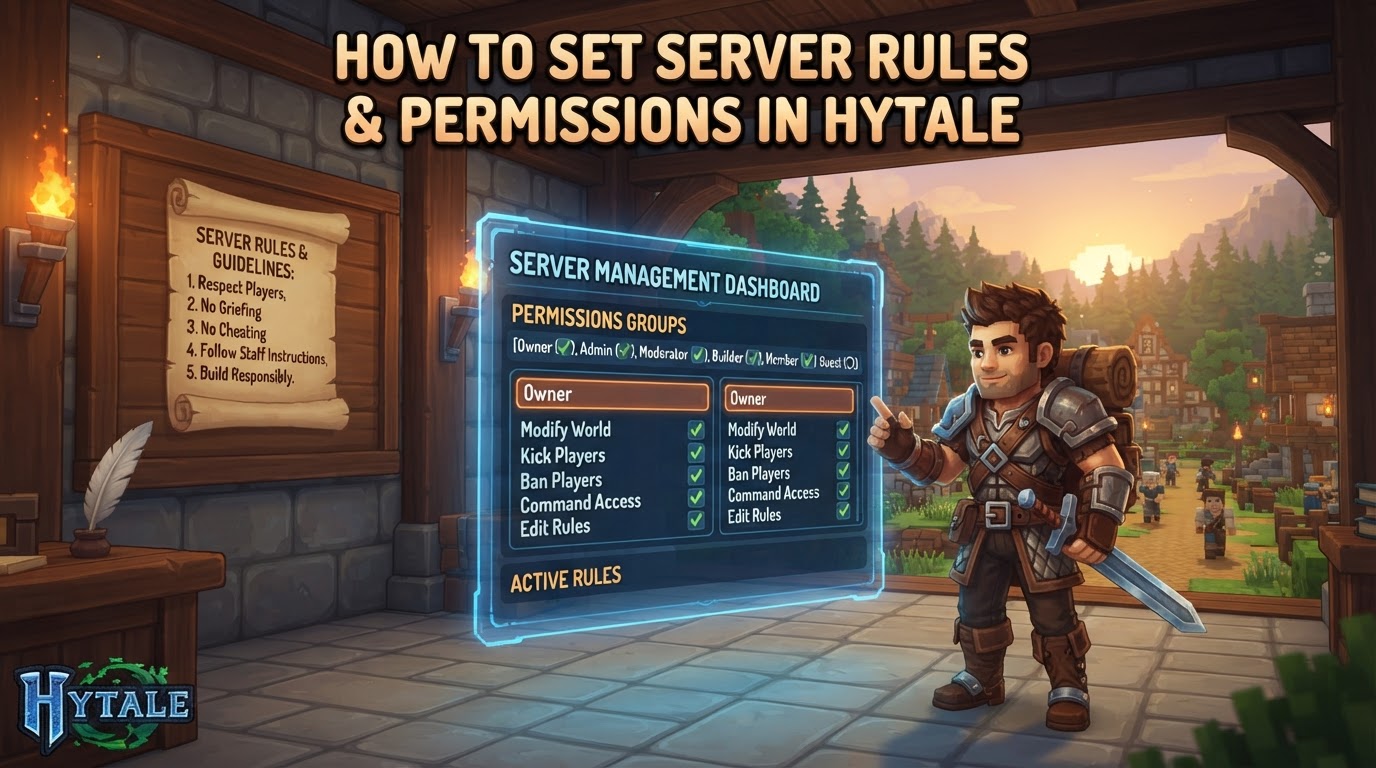
Hytale server rules and permissions are primarily managed through direct editing of two key configuration files—permissions.json and config.json—and by utilizing in-game console commands, with Operator (OP) status granting full administrative control. These robust tools, available since Hytale’s early access release on January 13, 2026, allow server owners to precisely define player capabilities and server behavior.
Understanding Hytale’s Server Management System
Hytale provides server administrators with a comprehensive suite of tools for granular control over their server environment. This system revolves around specific files and commands, each serving a distinct purpose in shaping the player experience and server functionality.
Key Components:
permissions.json: This crucial file, located in your server’s root directory, is the backbone of player permissions. It allows you to define custom roles, assign specific command access, and manage what actions players can perform. Permissions can be granted to individual users or to groups, supporting hierarchical inheritance for streamlined management.config.json: There are two distinct types ofconfig.jsonfiles:- Server-wide
config.json: Found in the server’s root directory, this file dictates global server properties such as the server name, maximum player count, password protection, default game mode, and various networking parameters. - World-specific
config.json: Located within each world’s dedicated folder (e.g.,universe/worlds/your_world_name/config.json), this file controls gameplay rules specific to that particular world. This includes settings for Player-versus-Player (PvP) combat, fall damage, Non-Player Character (NPC) behavior, and time progression.
- Server-wide
- Console Commands: Accessible in-game by typing
/followed by the command, these allow for real-time management. Commands cover player moderation, permission adjustments, and dynamic server setting changes. Access to these commands is typically restricted to players with Operator (OP) status or specific permissions. - Operator (OP) Status: Granting a player OP status bestows full administrative privileges on the server. An operator can execute all available console commands, manage other players’ permissions, and generally oversee all server operations.
Step-by-Step Guide to Setting Rules and Permissions
1. Granting and Revoking Operator (OP) Status
Operator status is the quickest way to give a player full administrative control. It’s often the first step in setting up server staff.
To Grant OP Status:
- In-game Command (Player must be online):
- Open the chat window in Hytale by pressing the Enter key.
- Type
/op add [player_username](for example,/op add HytaleAdmin) and press Enter. - If you are the world owner in a single-player world or wish to grant yourself OP status from the console, you can use
/op self.
- Via Server Console/Control Panel (Host-dependent):
- Access your server’s console through your hosting provider’s web interface or a direct SSH connection.
- Type
op add [player_username](without the leading/) and execute the command.
To Revoke OP Status:
- In-game Command:
- Open the chat window.
- Type
/op remove [player_username](e.g.,/op remove ProblematicOP) and press Enter.
- Via Server Console/Control Panel:
- Access your server’s console.
- Type
op remove [player_username]and execute the command.
2. Setting Up Custom Permissions with permissions.json
For more nuanced control beyond simple OP status, the permissions.json file allows you to define specific roles and assign precise command access.
- Stop the Server: Before making any manual edits to configuration files, always ensure your Hytale server is completely stopped. This prevents data corruption and ensures your changes are not overwritten when the server saves or shuts down.
- Locate
permissions.json: Navigate to the root directory of your Hytale server installation. Thepermissions.jsonfile should be located there. - Edit the File: Open
permissions.jsonusing a plain text editor (like Notepad++, VS Code, Sublime Text). The file uses JavaScript Object Notation (JSON) format, which is very sensitive to syntax. Pay close attention to curly braces{}, square brackets[], commas,between entries, and ensuring all strings are enclosed in double quotes" ".
Within this file, you can define groups (e.g.,
default,member,moderator,admin) and assign specific permission nodes to them. Permission nodes are unique identifiers for specific actions or commands (e.g.,hytale.command.kickfor the/kickcommand). Players are then assigned to these groups, typically by their unique identifier (UUID) or username.A simplified example structure:
{
  "groups": {
    "default": {
      "permissions": ["hytale.command.help", "hytale.command.spawn"]
    },
    "moderator": {
      "inherits": ["default"],
      "permissions": ["hytale.command.kick", "hytale.command.ban", "hytale.command.mute"]
    },
    "admin": {
      "permissions": ["*"] // The wildcard "*" grants all permissions
    }
  },
  "users": {
    "your_player_uuid_here": ["admin"],
    "another_player_uuid_here": ["moderator"]
  }
}
Many commands have corresponding permission nodes. Consult official Hytale documentation or use the
/helpcommand for a list of available nodes. - Save the File: After making your changes, save the
permissions.jsonfile. Double-check for any JSON syntax errors before saving. - Restart the Server: Your newly defined permissions and group assignments will only take effect once the server is fully restarted.
3. Configuring Server and World Settings with config.json
The config.json files allow you to tailor the server’s global behavior and specific world rules.
- Stop the Server: Always halt your server before editing any
config.jsonfiles to ensure changes are applied correctly and not overwritten. - Locate
config.json:- For server-wide settings (e.g., server name, max players), find
config.jsonin the server’s root directory. - For world-specific settings (e.g., PvP, fall damage), navigate to
universe/worlds/<world_name>/config.json.
- For server-wide settings (e.g., server name, max players), find
- Edit the File: Open the relevant
config.jsonfile with a text editor. You can modify various parameters such as"ServerName","MaxPlayers","Password","PvPEnabled"(true/false),"FallDamageEnabled"(true/false),"DefaultGameMode", and"WorldName".
Many hosting providers offer a user-friendly “Easy Config” tab or a browser-based editor within their control panel, which can simplify this process and help prevent syntax errors.
- Save and Restart: Save the modified
config.jsonfile and then restart your Hytale server for all changes to be applied.
4. Essential Moderation Commands
Once you or your staff have OP status or appropriate permissions, these commands are vital for maintaining order.
/ban [player_username] --reason [reason_text]: Permanently prevents a player from joining the server./unban [player_username]: Removes a player from the server’s ban list./kick [player_username] --reason [reason_text]: Temporarily removes a player from the server. They can rejoin immediately./whitelist add [player_username]: Adds a player to the server’s whitelist. If whitelisting is enabled, only listed players can join./whitelist remove [player_username]: Removes a player from the whitelist./perm [player/group] [permission_node] [true/false]: A powerful command for directly managing individual permissions or group-based roles in real-time without editing thepermissions.jsonfile.
Best Practices and Tips for Server Administration
- Utilize
/help: The in-game/helpcommand is your best friend. Type/helpto see a list of available commands, and/help [command_name]for specific syntax and usage details. This is especially useful as Hytale is in early access and commands may evolve. - Case Sensitivity: Always be mindful of case sensitivity. Player usernames, command arguments, and permission nodes might require exact casing.
- Leverage Third-Party Tools: Many server hosting providers and community projects offer graphical user interfaces (GUIs) for server management. These dashboards can simplify configuration file editing, mod management, and player control, reducing the chance of manual errors.
- Establish Clear Community Rules: Beyond technical permissions, clearly define and communicate behavioral rules for your players (e.g., no griefing, no use of exploits, respectful communication). Platforms like Discord are excellent for this.
- Regular Backups: Implement a routine backup schedule for your entire server directory, especially the
universefolder and all configuration files. This protects against data loss from corruption, accidental deletions, or misconfigurations.
Common Pitfalls to Avoid
- Editing Live Files: Never modify
config.jsonorpermissions.jsonwhile your Hytale server is running. Changes made this way are highly likely to be overwritten upon the next server save or shutdown, leading to lost work or unexpected behavior. - Incorrect JSON Syntax: JSON files are strict. A single missing comma, an unclosed bracket, or a string not enclosed in double quotes will cause the server to fail to parse the file, often resulting in default settings being loaded or the server failing to start. Use JSON validators if unsure.
- Insufficient Permissions: Attempting to use administrative commands without having the necessary OP status or specific permission nodes will result in a “permission denied” message. Always verify your own access level.
- Outdated Information: Hytale is in early access, meaning features, commands, and configuration options can change. Be wary of relying on speculative or outdated guides, especially those that might confuse Hytale mechanics with other games. Always cross-reference with official documentation or in-game
/help. - Player Identification Errors: When using commands like
/op add,/ban, or/kick, ensure the player’s username is spelled precisely. Mismatches will cause the command to fail.