
Guide
Where to Find Iron in Hytale
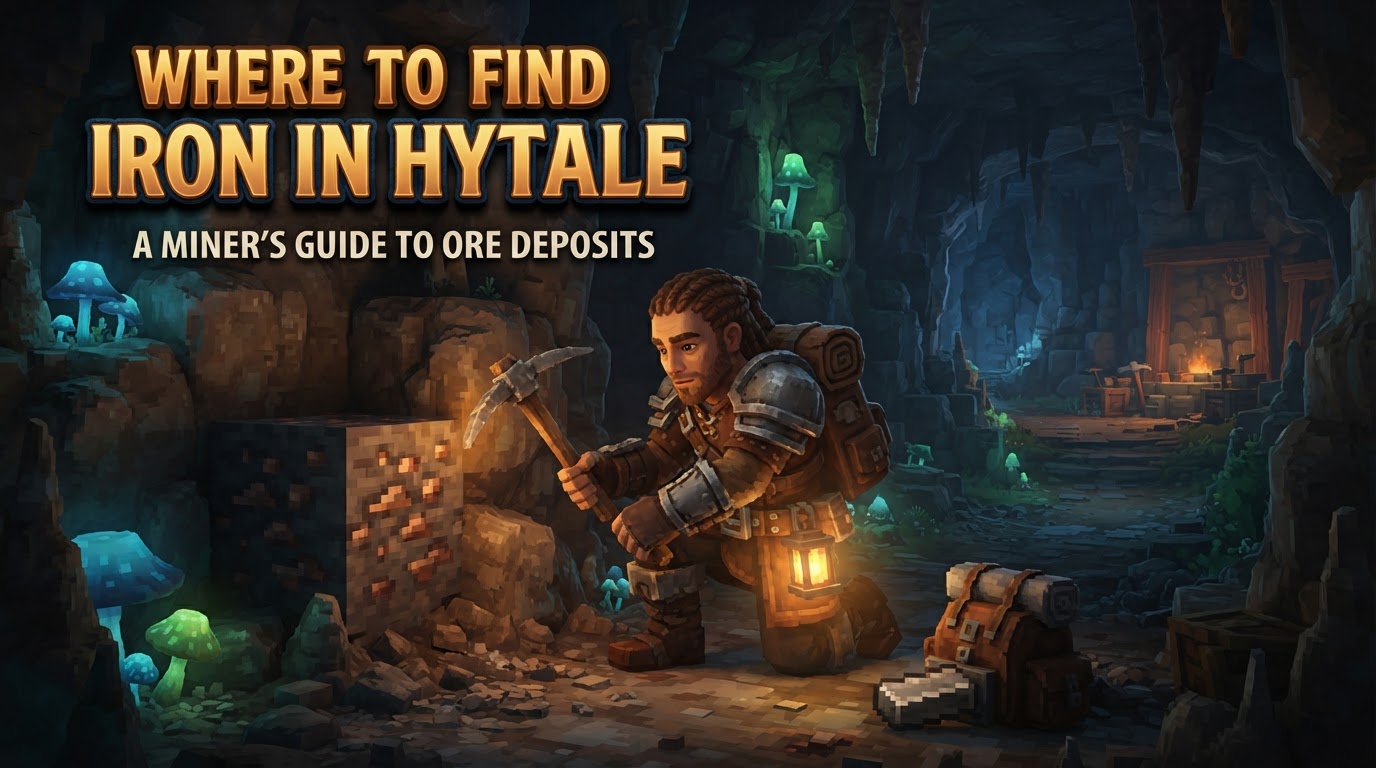
Iron is a foundational resource in Hytale, serving as the critical second tier of ore that unlocks significant progression in crafting and combat. To efficiently find iron, players should focus their efforts underground within natural cave systems, particularly in the mid-to-deep levels of the Emerald Grove (Zone 1), the expansive networks of the Howling Sands (Zone 2), and the rocky formations of Boreal/Cold Biomes (Zone 3). A copper pickaxe is recommended for mining, and thorough exploration of deeper caves and abandoned mining structures will yield the best results.
Understanding Iron Ore in Hytale
Iron ore marks a pivotal point in your Hytale adventure. After establishing a base and gathering initial copper resources, iron becomes the next essential material for advancing your gear, tools, and crafting capabilities. It’s the gateway to stronger armor, more potent weapons, and advanced crafting stations that are crucial for tackling the challenges of Hytale’s diverse world.
Appearance and Identification
In Hytale, iron ore is typically identifiable by its distinct appearance: grey chunks embedded within rock, often with subtle brown mottling. In darker environments, it might exhibit a slight, dull gleam, making it stand out from surrounding stone. Learning to recognize its texture and color variations will significantly speed up your mining efforts.
Mining Requirements and Processing
While some early reports suggested a Crude Pickaxe might chip away at iron, the consensus and practical experience dictate that a Copper Pickaxe or better is the appropriate tool for mining iron ore. Using a copper pickaxe ensures efficient mining speed and preserves your tool’s durability. Attempting to mine iron with a lower-tier tool will be slow, inefficient, and potentially fruitless.
Once mined, raw iron ore is not immediately usable. It must be processed into iron ingots. This is done through smelting:
- Craft a Furnace: Use a crafting workbench to combine stone blocks and wood to create a furnace.
- Place the Furnace: Position your furnace in a safe, accessible location, ideally near your base.
- Smelt the Ore: Interact with the furnace. Place your raw iron ore in the top slot and a fuel source (such as wood, charcoal, or plant fiber) in the bottom slot. Each piece of iron ore requires one unit of fuel to smelt into one iron ingot.
This smelting process is fundamental to all metalworking in Hytale, transforming raw materials into usable components for crafting.
Where to Find Iron: Locations and Depths
Iron ore is predominantly found underground, with its prevalence increasing as you delve deeper into Hytale’s subterranean networks. Focusing on natural cave systems is far more productive than random digging.
Optimal Biomes for Iron
- Emerald Grove (Zone 1): This is often the first place players will encounter iron. Look for it within the mid-to-deep levels of natural caves, frequently alongside or just below copper deposits. The transition from copper-rich areas to iron-rich ones often signifies you’re heading in the right direction.
- Howling Sands (Desert Biome / Zone 2): Widely considered one of the most efficient biomes for iron farming. The Howling Sands feature extensive, often interconnected cave networks that are rich in iron. Furthermore, this biome sometimes has abandoned mining structures on the surface or just below, which frequently expose large veins of iron ore. Surface-level iron deposits, though less common, can also be found here.
- Boreal / Cold Biomes (Zone 3): These frigid regions are also excellent sources of iron. Explore caves found within snowy mountains and along their rocky flanks. Some of the distinctive rocky spikes and formations in these biomes can contain abundant iron deposits, often visible on their exposed surfaces.
Depth Considerations
While iron isn’t strictly confined to a single layer, it generally begins to appear with greater frequency at depths roughly between 40 and 60 blocks below the surface. In biomes like Plains, Taiga, and Desert, you’ll commonly find iron concentrated around Y-levels 60-120. As you descend further, the density and size of iron veins tend to increase, making deeper exploration highly rewarding.
Effective Exploration Strategy for Iron
To maximize your iron haul and minimize wasted time, adopt a systematic approach to exploration.
- Prioritize Natural Caves: Resist the urge to dig random tunnels. Natural cave systems expose vast amounts of rock face, significantly increasing your chances of spotting ore deposits. They also often lead to deeper, richer areas.
- Go Deeper: Follow cave systems downwards. Iron becomes more prevalent and veins tend to be larger in the deeper sections of caves. Be prepared for potentially tougher enemies as you descend.
- Thorough Exploration: Don’t just follow the main path. Check all branching tunnels, climb up to ledges, and examine ceilings and high walls. Iron veins can often be hidden in less obvious spots.
- Look for Structures: Keep an eye out for abandoned mining structures, both above and below ground, especially in the Howling Sands. These man-made features often contain exposed, easily accessible iron veins, sometimes even in large quantities.
Tips for Efficient Iron Mining
Smart preparation and execution will make your iron mining expeditions much more productive and safer.
- Preparation is Key: Before venturing into caves, ensure you have a suitable pickaxe (Copper or better), a generous supply of torches for illumination, and adequate weapons and armor to handle potential combat encounters. Deeper caves often house more dangerous creatures.
- Upgrade Your Tools First: Once you acquire your first few iron ingots, your absolute top priority should be crafting an Iron Pickaxe. This tool offers significantly increased mining speed and durability compared to its copper counterpart, making all subsequent mining runs far more efficient.
- Strategic Lighting: Torches serve multiple purposes. Beyond illuminating dark areas to prevent mob spawns and reveal hidden ore, use them to mark your path. Placing torches on one side of a tunnel as you explore can help you navigate back out without getting lost.
- Repeated Runs: Instead of trying to clear an entire, massive cave system in one go, consider making shorter, focused mining runs. This minimizes the risk of losing all your collected ore if you’re defeated and allows for more frequent trips back to your base to smelt and store resources.
- Multiplayer Advantage: If playing on a multiplayer server, coordinate with your team. Assign roles (e.g., one player mines, another provides combat support), split up to explore different sections of a cave, share the burden of smelting, and centralize iron storage for maximum efficiency.
Common Mistakes to Avoid
Learning from common pitfalls can save you a lot of time and frustration when hunting for iron.
- Surface Digging: Don’t waste precious time digging random holes or shallow shafts on the surface. While very rare surface deposits exist, iron is far more consistently and abundantly found in natural cave systems underground.
- Ignoring Desert Biomes: The Howling Sands biome is a goldmine (or rather, an iron mine) for this resource. Overlooking it means missing out on one of the most efficient farming locations.
- Lack of Torches: Entering dark caves without sufficient light is a recipe for disaster. You’ll miss valuable ore deposits hidden in shadow, and you’ll be vulnerable to unseen enemies. Always bring more torches than you think you’ll need.
- Rapid Deep Descent: Especially early in the game, avoid diving too deep too quickly. Stronger, more dangerous mobs spawn in lower depths. Progress gradually, upgrading your gear as you go, to handle these threats effectively.
- Staying Shallow: If you’re primarily finding copper, it’s a clear sign you’re still in the upper levels of cave systems. To find iron, you need to venture deeper. Follow those downward-sloping tunnels.
- Neglecting Route Marking: Getting lost in a complex cave system is easy. Use torches, temporary blocks, or even a mental map to mark your path, ensuring you can navigate back to the surface or your base efficiently.
- Weapon Over Tools: While it’s tempting to craft an iron sword or armor immediately, prioritizing an Iron Pickaxe will pay dividends. A better pickaxe means faster mining, more ore, and ultimately, more resources for all your other iron-based crafting needs.